Establishing National
Standards for Power Engineers.
Establishing National
Standards for Power Engineers.

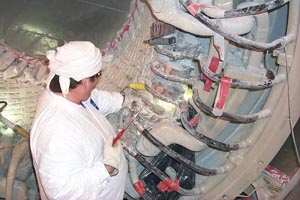
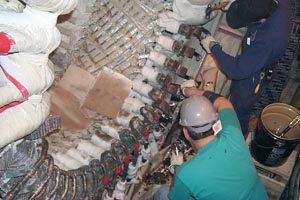
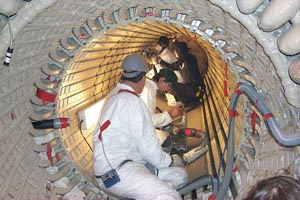
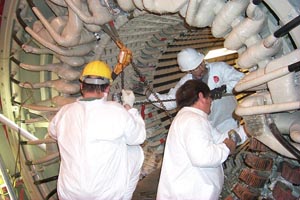
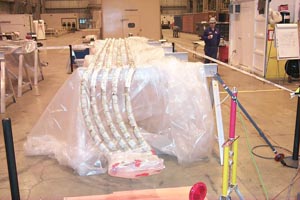
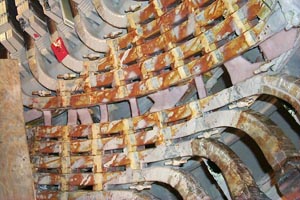
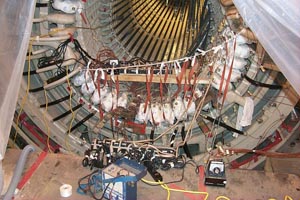
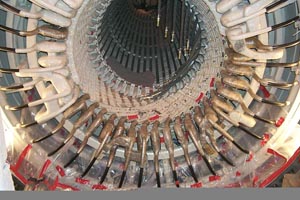
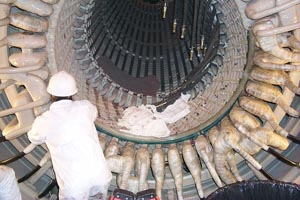
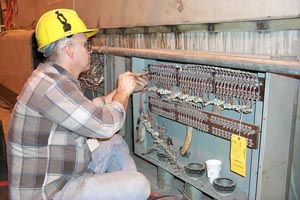
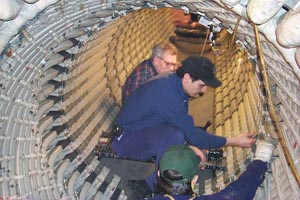
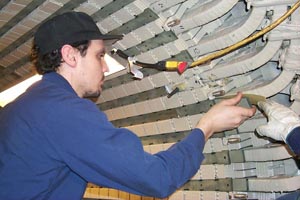
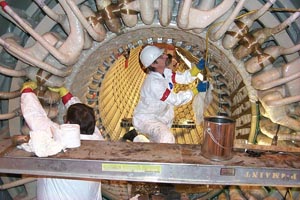
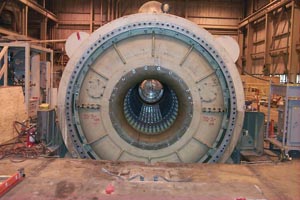
Recently, the American Society of Power Engineers (ASOPE®) documented the process of maintenance and component replacement on a 650 MW General Electric unit. Units of these kinds are commonly used in steam power generation applications. The generator required a variety of inspections and maintenance to ensure it was to spec and ready for use in the field.
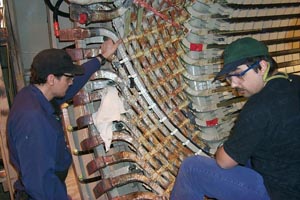
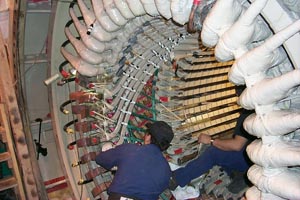
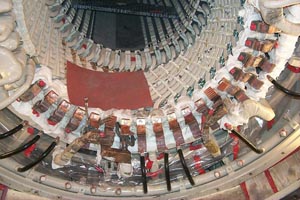
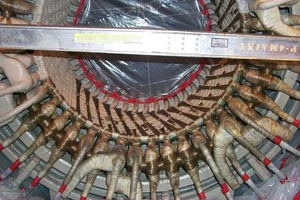
For this particular GE generator, the primary focus was the maintenance of stator windings. The most common failures of these windings are loose stator bars in slots, stator bar insulation deterioration, and thermal cycling. A licensed ASOPE® Power Engineer has the training and expertise to correctly maintain these types of generators and properly inspect, replace, and repurpose stator windings and bars. Provided are photos and descriptions of the process used by a licensed ASOPE® Power Engineer to properly get this generator back in the field.
|
Disassembly begins on |
Undoing the brazing of the |
Removal of ripple springs from between the bar and core iron.
|
|
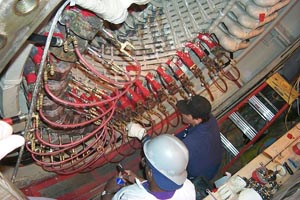
Cutting and removing |
Carefully removing top bars. |
Top bar removal from |
|
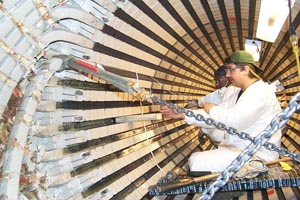
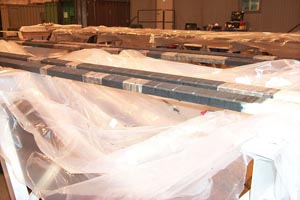
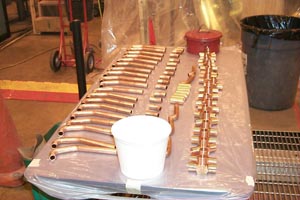
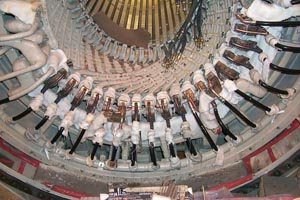
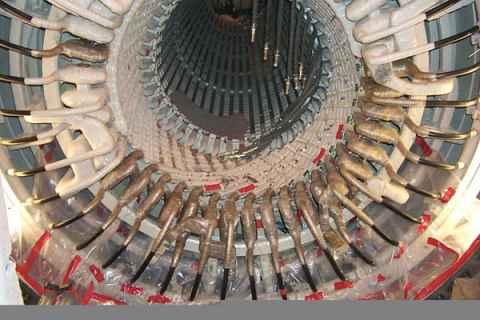
All 18 top bars and |
18 top bars ready for inspection test. |
Four top bars to be |
|
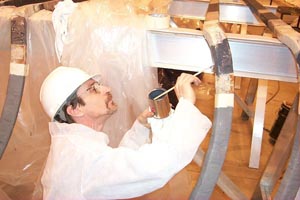
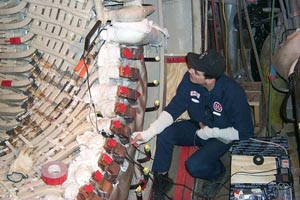
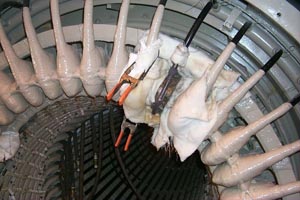
Prepping suppressor |
Repair slot section armor tape on original bars. |
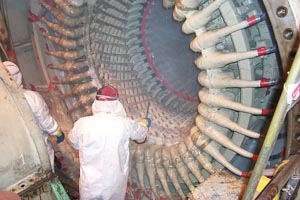
Stator core slot section inspection prior to bar assembly. |
|
End windings cleaned and prepared for bar assembly. |
New bottom bar installed in slot #33. |
New top bar install. |
|
Final bar installed. |
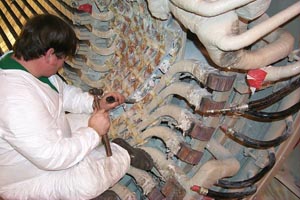
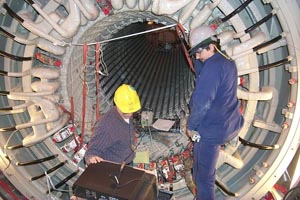
Assembling and |
Plumbing cleaned and |
|
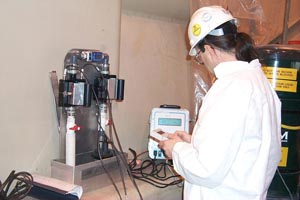
Inspection of epoxy |
Inspection of new epoxy injection clips for final install. |
Recording clip internal |
|
Epoxy injection completed. |
Pressurizing with Helium to check epoxy injection integrity. |
Piping assembled and brazed. |
|
Leak at bar #20 found in plumbing, repaired and rebrazed. |
Mica tape on series loops CE. |
Assembling nose rings. |
|
Ultrasonic test performed |
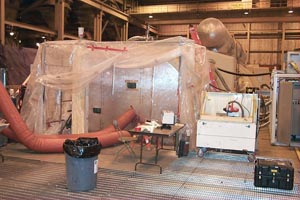
Stator wings baked at |
Disconnecting and grounding RTD's. |
|
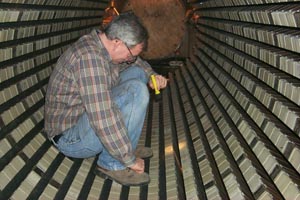
Assembling core slot wedges. |
Flux probe re-installation. |
Tying bar and tension member |
|
End windings completely |
Applying flooding resin |
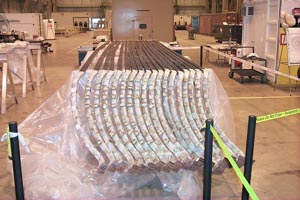
Inner End Shield in place ready for field. |